
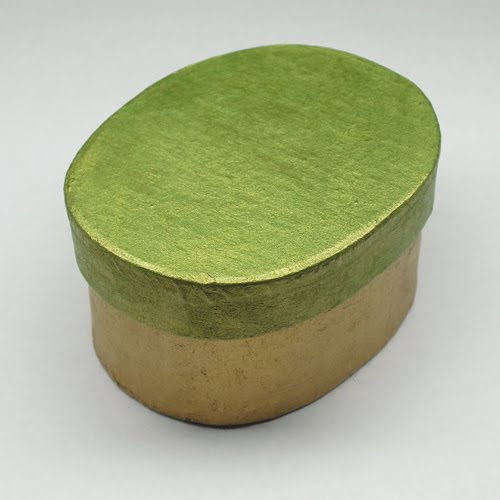
Step 1: I didn't take a photo of the box before I started, so you can't see that it was just a plain, brown cardboard box. What you can see in the photo below is what happens when you cover a plain, brown cardboard box with Rub 'n Buff. I used Jade for the lid and Antique Gold for the body of the box, spreading it on with a paintbrush.

Step 2: You can see in the photo above that the surface has a good color, but it doesn't have much shine to it. I waited a little over an hour for the box to dry, then I buffed it with a dry cloth. You can't be afraid to lay into an R&B'ed surface to get it to shine - at least on porous surfaces like paper or wood. The pigments and metal flakes are absorbed into the surface, and they aren't coming out. Buff it gets rid of the uneven layers above the absorbed layers to create a more regular surface. You can see in the photo below what a difference some buffing makes.
Step 3: Next, I wanted to to add a stenciled image to the lid of the box in the Antique Gold. I used a plastic stencil of a swirl pattern to put a full swirl on the center of the lid and two partial swirls on either side. I did some testing beforehand and found that I got a much sharper image using a tissue to spread the Rub 'n Buff over the stencil than when I used a paintbrush. You can see my "technique" in the project video when I post it. You probably have your own preferred method of stenciling - go with whatever works for you.

Step 4: After letting the swirl pattern dry, I decided the edge of the lid need a little something extra. So I took the Scallop pattern Fiskars Paper Edger, cut a strip of paper, and wrapped it around the edge of the box. I wrapped the positive edge side of the pattern around the edge pointing down so that when I painted the exposed portion, I would end up with a positive scallop pattern in Jade over more of the Antique Gold. The stencil was not perfectly sharp - I was just using white copy paper, and the Rub 'n Buff bled under the edge in places. In my next project, I am going to try using masking tape to eliminate the bleeding edge.

So that's the whole project - I used a $.99 cardboard box, a stencil, a paper edger, and some metallic paint to make this great looking little gift box. I have it sitting on a shelf in my living room right now, and it catches the light and looks very much like a metal box. The only thing that gives it away on closer inspection if, of course, the weight and the somewhat rough texture of the cardboard still visible under the paint.
Look for the video of this project soon!
No comments:
Post a Comment